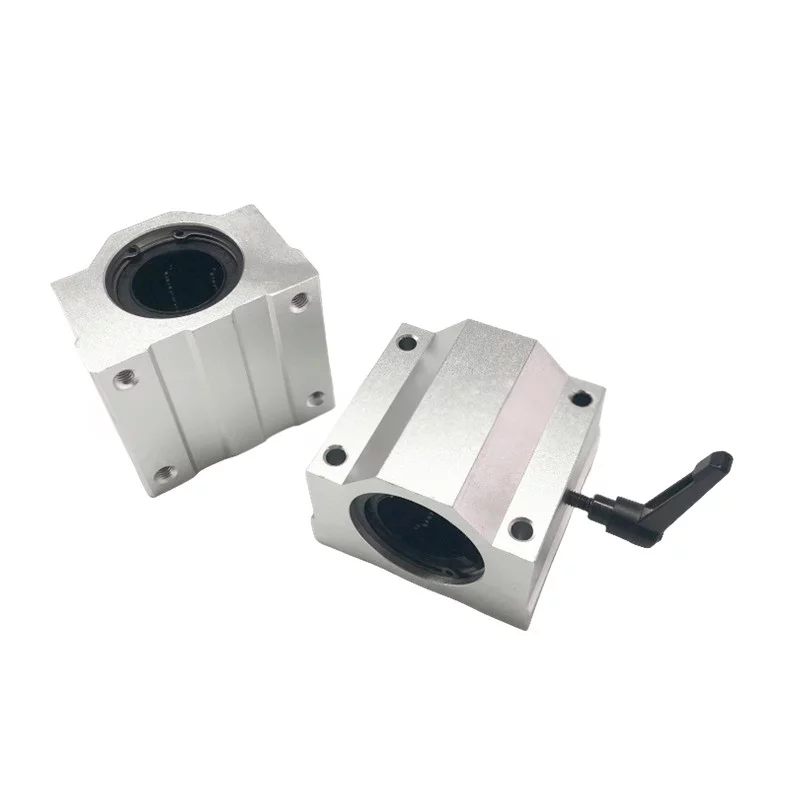
How to install and remove the hex socket screws
Proper tools and techniques are required for installing and removing hex screws.
The following are general steps for reference:
Install the hex socket screws:
Materials and tools:
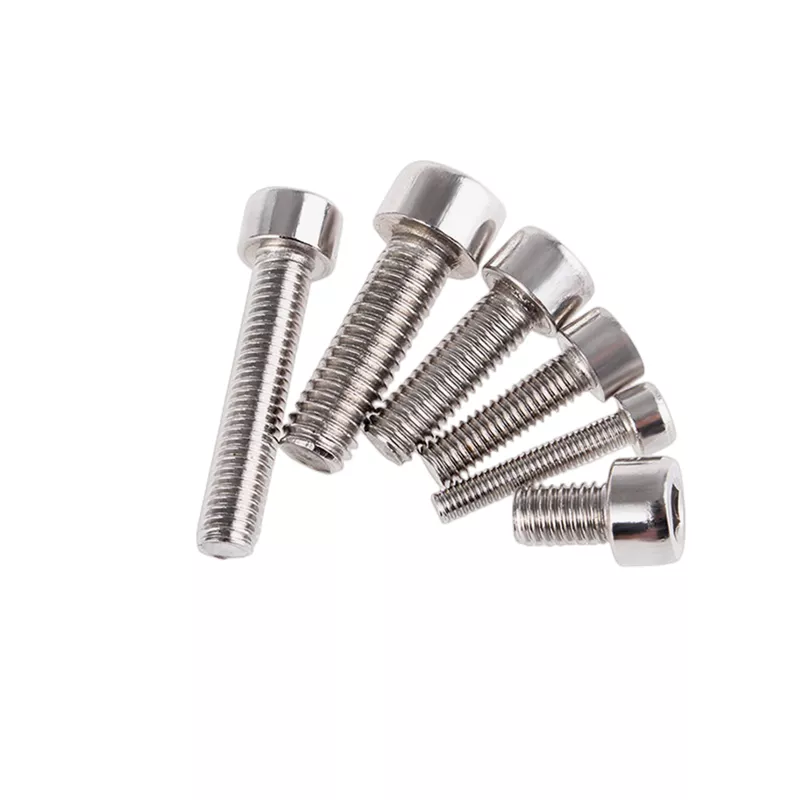
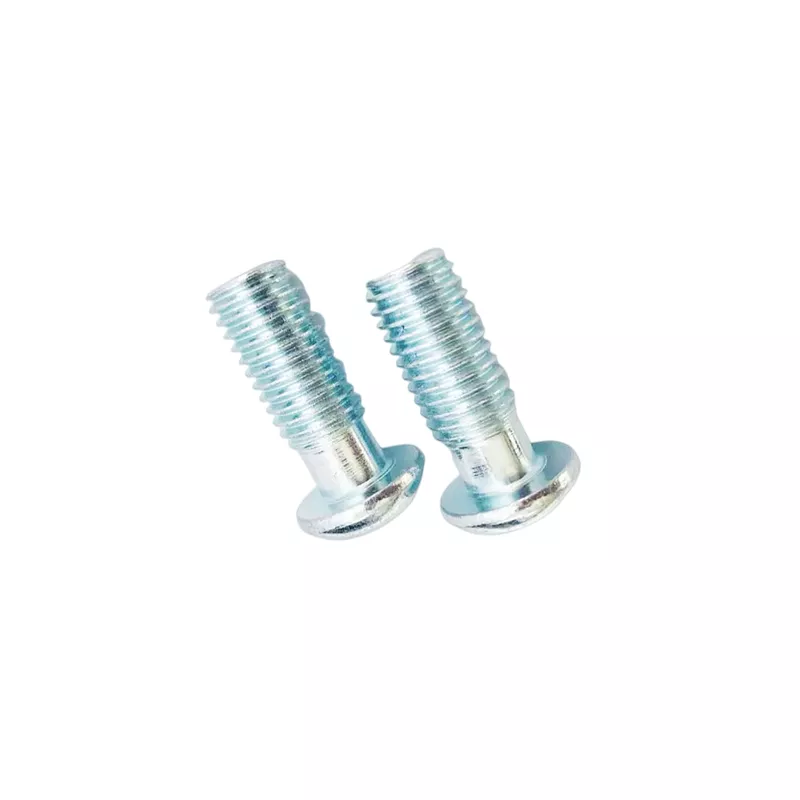
Internal hexagonal screw
Internal hexagonal wrench or torque wrench
Steps:
Preparation: Ensure the selection of the correct specifications of hex screws and torque wrenches to ensure the matching between screws and tools.
Align the hole position: Align the hex screws with the threaded holes on the workpiece to ensure correct insertion.
Tighten the screw: Use an Allen wrench or torque wrench to tighten the screw counterclockwise until it is flush with the surface of the workpiece.
Moderate torque: Avoid excessive tightening of screws, use a torque wrench, and adjust the torque
according to the screw specifications to prevent damage to the workpiece or screws.
Remove the hex socket screws:
Materials and tools:
Internal hexagonal wrench or torque wrench
It may require rust inhibitor or lubricating oil
Steps:
Preparation: Use the correct size hex wrench or torque wrench and ensure the compatibility between the tool and the screw.
Use appropriate tools: Insert the hex wrench into the screw hole, ensuring complete insertion and matching with the screw.
Counterclockwise rotation: Use a counterclockwise wrench to loosen the screw. If the screw is very tight,
you can try spraying some rust inhibitor or lubricating oil on the screw and wait for a moment to help loosen it.
Moderate torque: During the disassembly process, ensure moderate torque to avoid damaging screws or workpieces.
Check screws: After disassembly, check the condition of the screws. If damage or wear is found, new screws should be replaced.
The above steps provide a general method for installing and removing hex screws, and the specific operation may vary depending
on the type of screw and workpiece. Ensure to refer to the relevant screw and tool specifications
before performing any operations to ensure correct and safe operation.
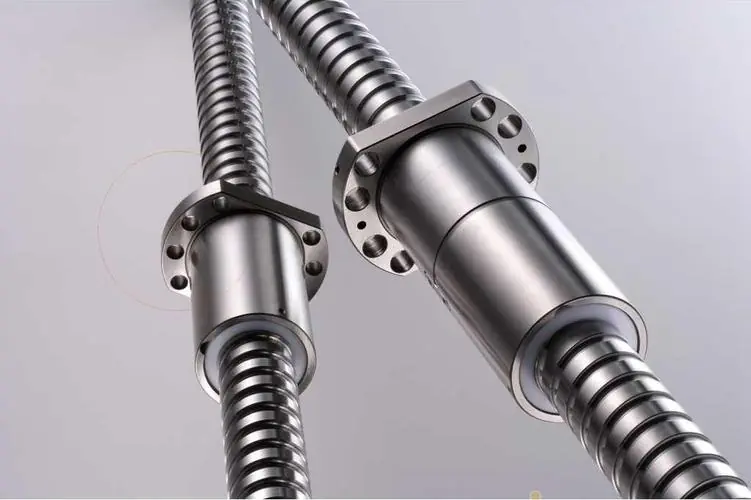 Why Precision Ball Screws are Vital for Industrial Automation and How to Choose the Right Supplier
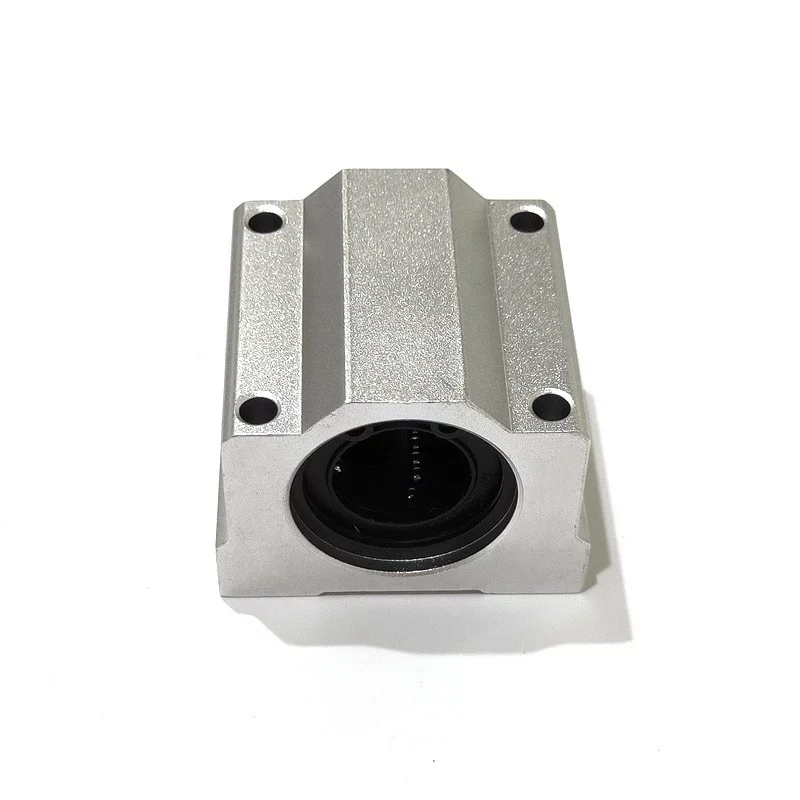 SAIVS Linear Motion Ball Slide Units – Precision and Reliability for Your CNC Needs
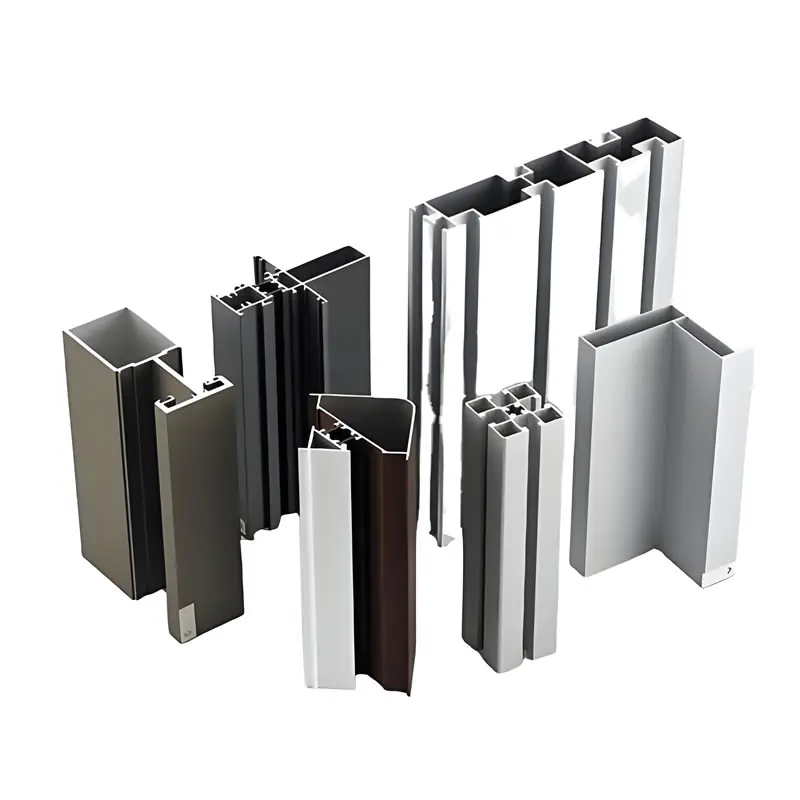 High - Quality T - Slot Aluminum Extrusion Profiles from Ningbo SAIVS Machinery Co., Ltd
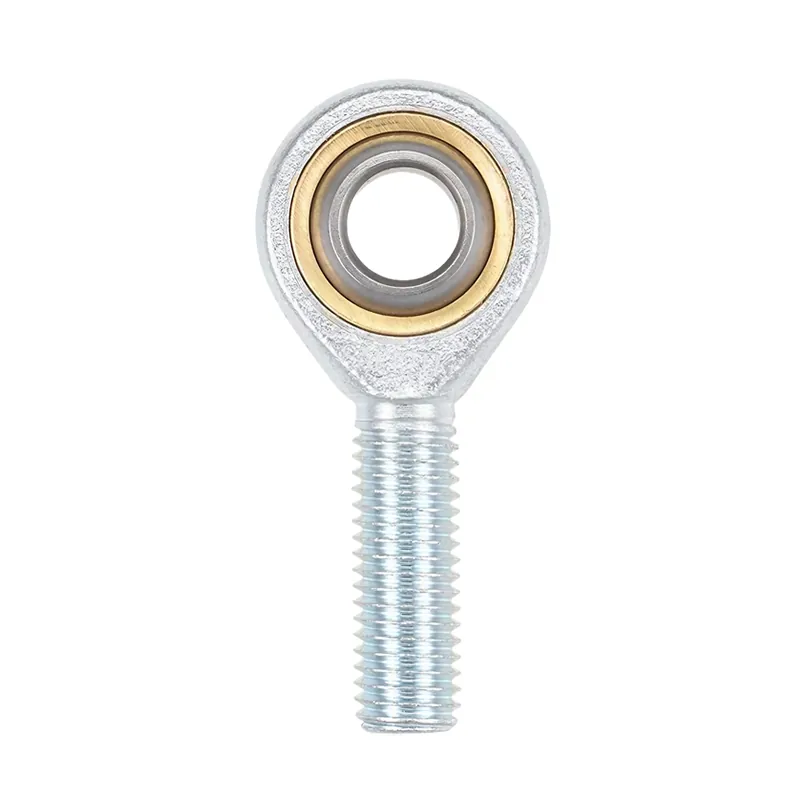 Enhance Industrial Efficiency with Premium Cylinder End Bearings from SAIVS

