How to adjust leveling feet
Insert at the bottom of the object
Stud leveling feet are easy to use.
Start by inserting them at the bottom of the object
with which you want to use them.
As long as the object has threaded holes of the same size,
it should support the stud leveling feet.
To use stud leveling feet,
place them inside of the threaded holes
on the bottom of the object and turn them.
Adjust the height
All stud leveling feet are adjustable. You can make them taller or shorter.
If the object tilts to the right side, for instance,
you may need to raise the stud leveling feet
on the right side or lower the stud leveling feet on the left side.
Turning stud leveling feet clockwise will make them shorter,
whereas turning stud leveling feet counterclockwise will make them longer.
Go through each of the installed stud leveling feet while adjusting their height.
If it's not level, you'll need to adjust the height of some or all of the stud leveling feet.
Check to ensure object Is level
When you are finished installing the stud leveling feet,
you may want to check to ensure the object is level.
Place a bubble level or laser level on top of the object.
If it's level, you won’t need to make any further adjustments to the stud leveling feet.
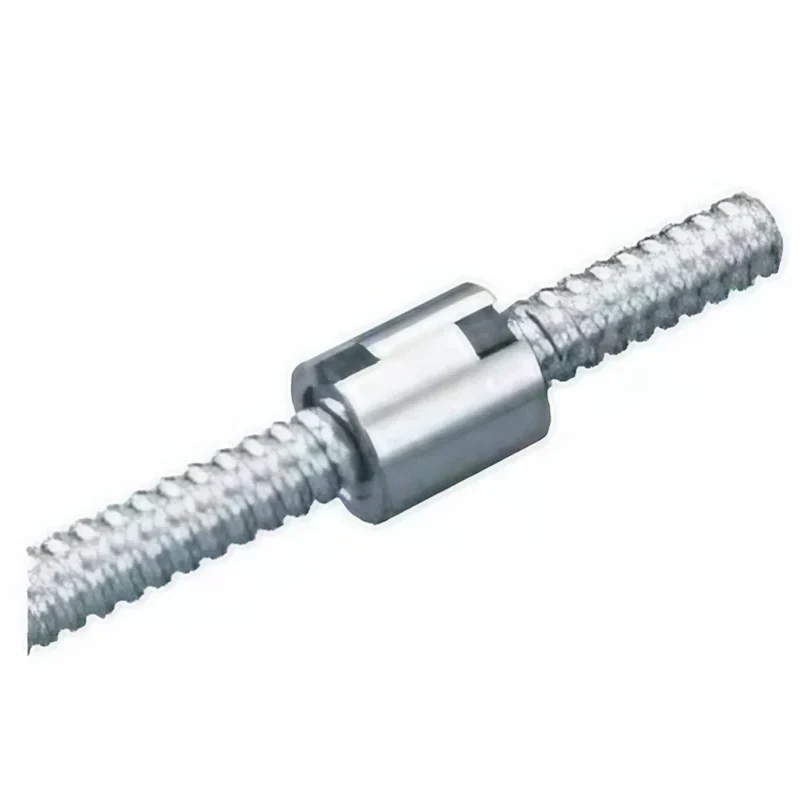
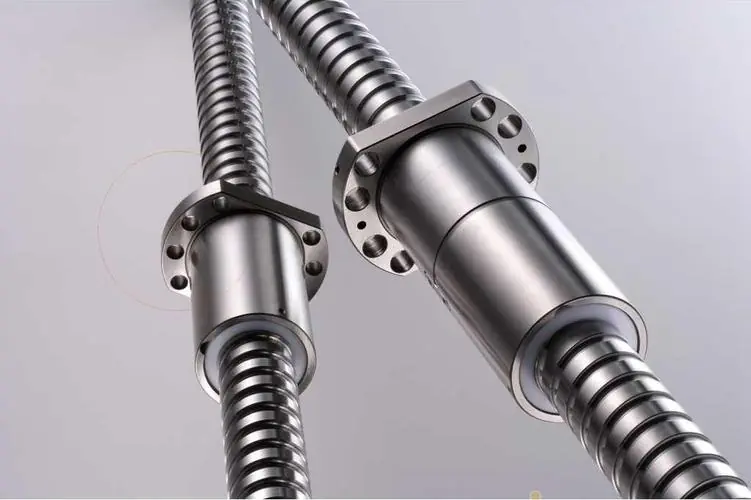 Why Precision Ball Screws are Vital for Industrial Automation and How to Choose the Right Supplier
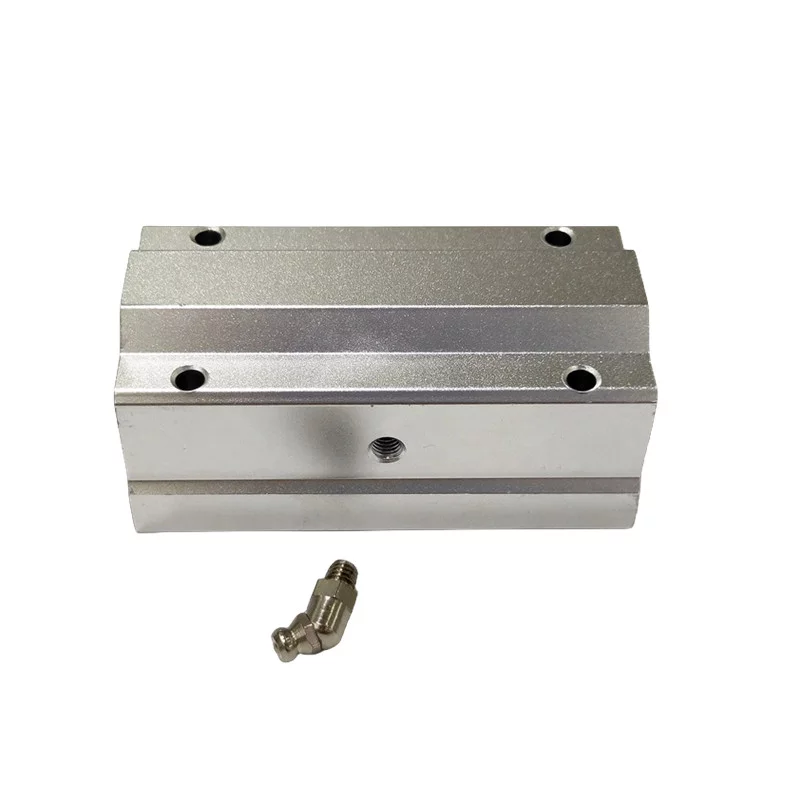
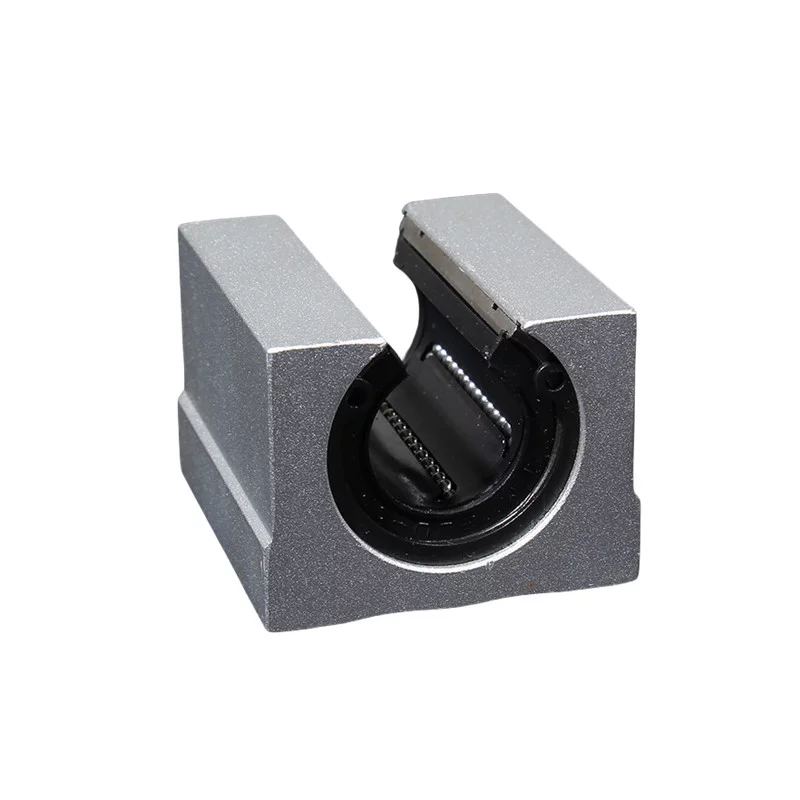
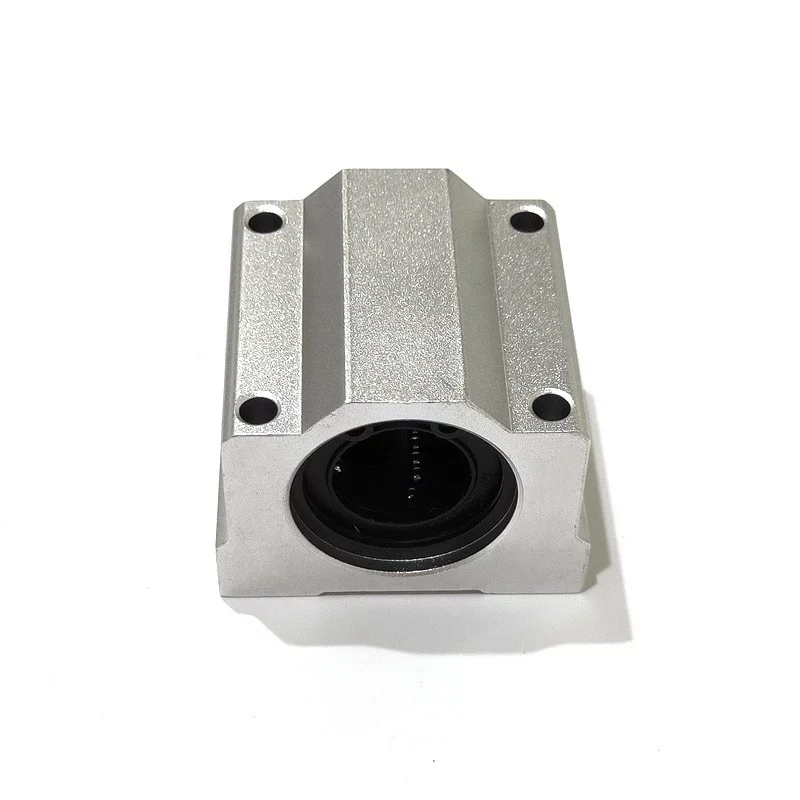 SAIVS Linear Motion Ball Slide Units – Precision and Reliability for Your CNC Needs
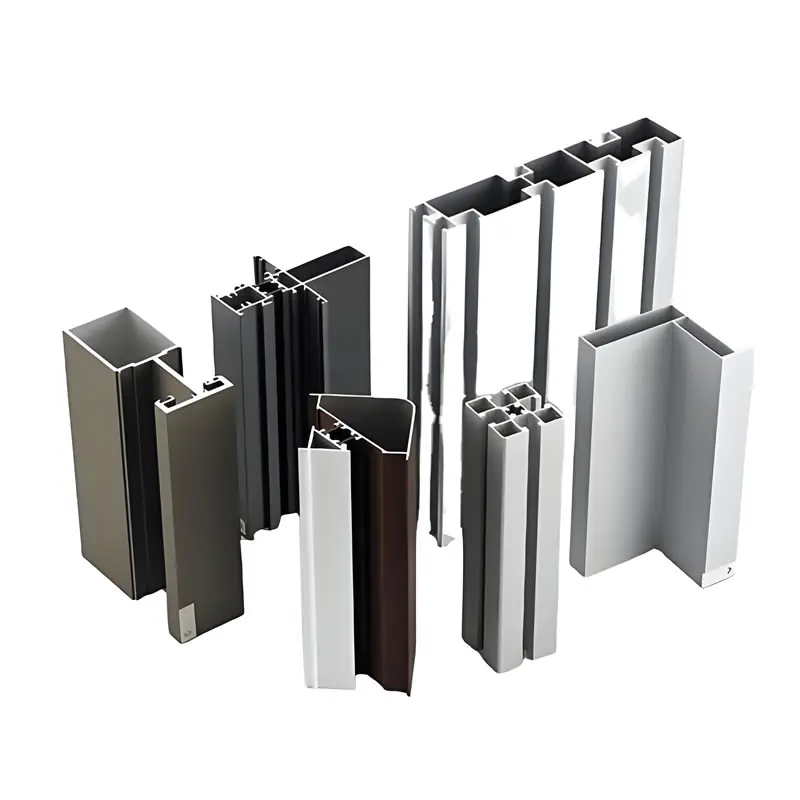 High - Quality T - Slot Aluminum Extrusion Profiles from Ningbo SAIVS Machinery Co., Ltd
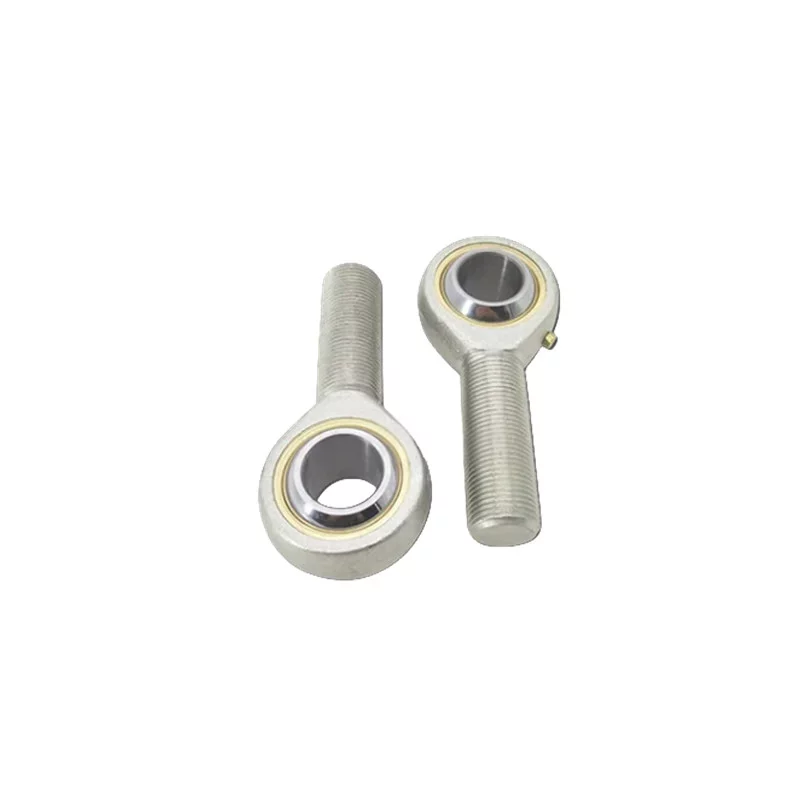
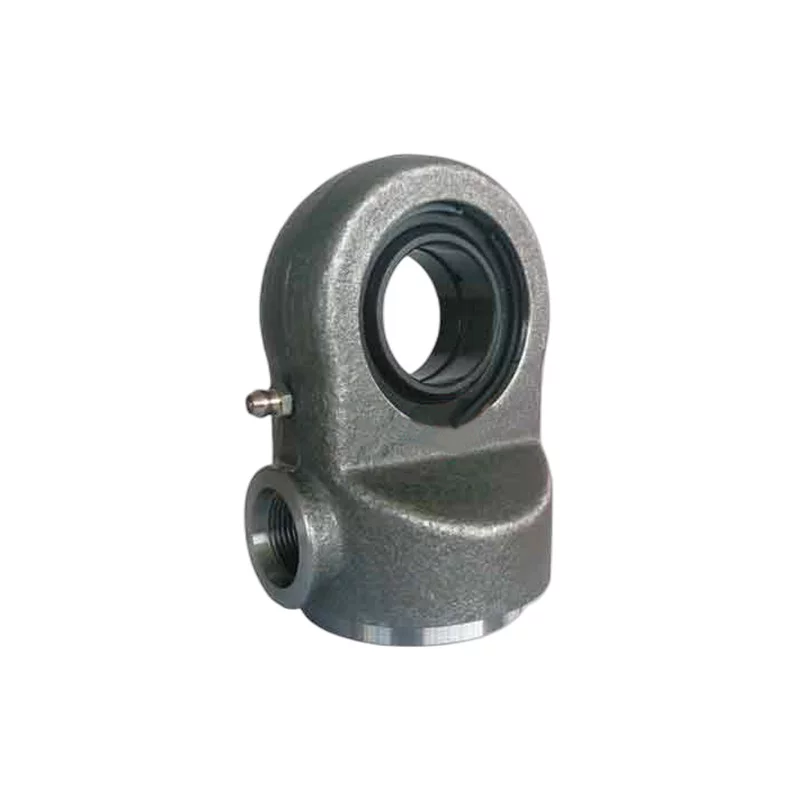
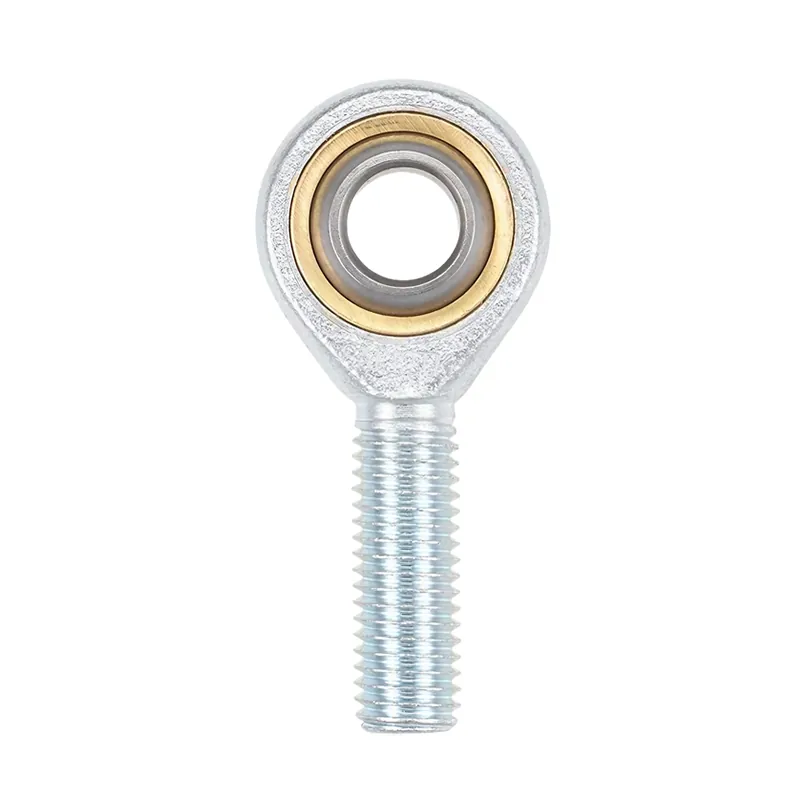 Enhance Industrial Efficiency with Premium Cylinder End Bearings from SAIVS

